
This year’s Olympics are now in full swing and it’s all eyes on the athletes.
From archery and shooting to athletics and gymnastics, there’s all kind of sports taking place across Paris, France, at the moment.
One fan-favorite sport to watch is the swimming, and this year there’s a whopping 854 athletes from 187 different countries competing.
But there’s a common theme you might have spotted with some of the swimmers and that’s the unusual dark red circles they have on their backs.
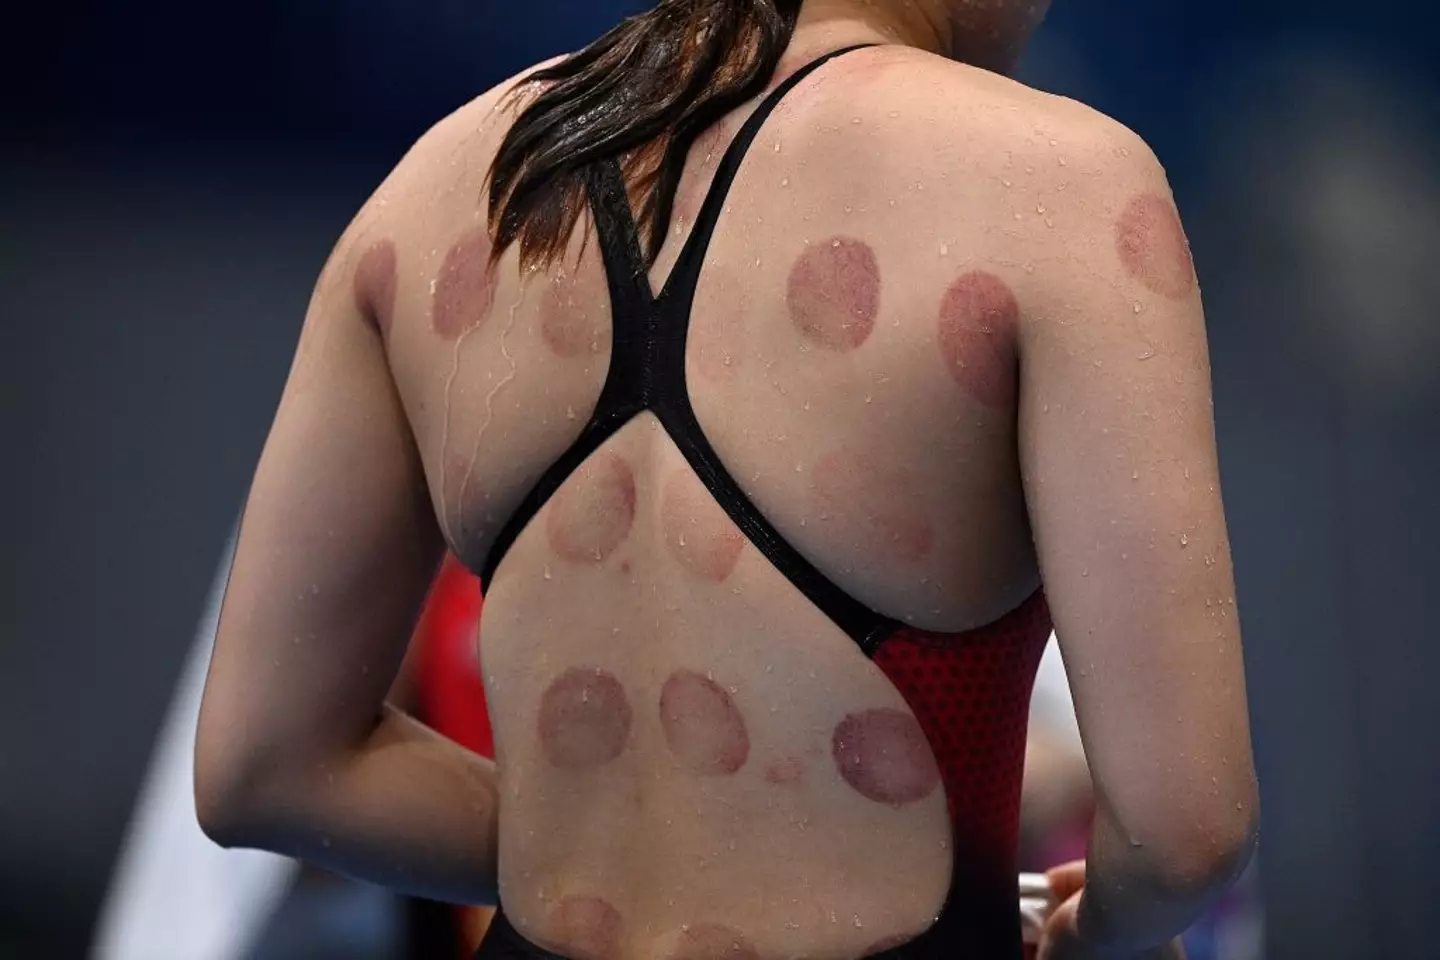
While it might look like they’ve had a fight with an octopus and lost, there’s a very different reason for the odd markings.
It turns out that the large spots are from cupping therapy – an ancient healing technique that involves placing cups on the skin to create suction and increase blood flow to the area.
The unconventional method is supposed to help with muscle recovery and is used as a type of deep tissue massage.
Some athletes were spotted with cupping therapy bruises back at the Rio Olympics in 2016, and it’s still seemingly popular now.

Gymnast Alexander Naddour told USA Today back in 2016 that cupping was supposedly the ‘secret’ to his health.
He added: “It’s been better than any money I’ve spent on anything else.”
Away from the Games, basketball player Kyle Singler has also praised cupping therapy.
“The bruises do look more intense than what they actually feel like, but the benefit from it is really great,” he previously insisted.
Singler continued to tell Sports Illustrated: “You’re not necessarily getting the immediate response that you might want but over time it does help with recovery and loosening tissue and stuff like that.”
But does cupping therapy actually work according to experts? It’s seems as if the jury’s still out.

According to Harvard Health, some studies have found that cupping might provide some relief for a number of musculoskeletal and sports-related conditions. The quality of this evidence was ‘limited’, however.
Elsewhere a 2022 review found that wet (as opposed to dry cupping) was effective for lower back pain.
While the bruises people get from cupping are pretty gnarly, the therapy is generally seen as safe to practice – even if people aren’t 100 percent on how affective it is.
“Most experts agree that cupping is safe. As long as those treated don’t mind the circular discolorations (which fade over a number of days or weeks), side effects tend to be limited to the pinch experienced during skin suction,” Harvard Health explains.
“It’s quite unusual that cupping causes any serious problems (though, rarely, skin infections have been reported).”
There you have it, folks.
Giving a 1942 Vanity Table a New Life

Are you the proud owner of a vintage vanity table that has seen better days? Are you looking to breathe new life into this timeless piece of furniture? Whether you inherited it from your grandmother or stumbled upon it at an antique store, transforming a 1942 vanity table can be a rewarding and creative project. In this article, we will guide you through the process of rejuvenating your cherished vanity table and turning it into a stunning focal point for your space.
Vintage furniture holds a special charm and history, and a 1942 vanity table is no exception. This article will provide you with step-by-step guidance on how to revive and revitalize your vanity table, allowing you to enjoy its beauty and functionality for years to come.
Assessing the Condition of Your Vanity TableBefore you embark on the restoration journey, carefully examine your vanity table’s condition. Take note of any scratches, dents, or missing components that require attention. This assessment will help you determine the extent of the restoration needed.
Choosing the Right Restoration ApproachDepending on your vanity table’s condition, you can opt for a full restoration or a more minimalist approach that preserves its vintage charm. Your choice will influence the techniques and materials you use throughout the process.
Preparing the Work AreaCreating a suitable workspace is essential for a successful restoration project. Clear a well-ventilated area and gather the necessary tools, including safety equipment, sandpaper, paintbrushes, and cleaning supplies.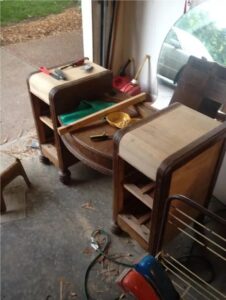
Stripping and Sanding the Vanity Table
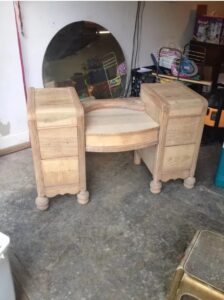
To reveal the beauty hidden beneath layers of paint and varnish, start by carefully stripping the old finish. Sand the surfaces to achieve a smooth and even texture, preparing the vanity table for the upcoming restoration steps.
Repairing and Replacing Hardware
Inspect and repair or replace any damaged or missing hardware, such as drawer pulls, knobs, and hinges. Choosing hardware that complements the table’s era can enhance its authentic appearance.
Selecting the Perfect Finish
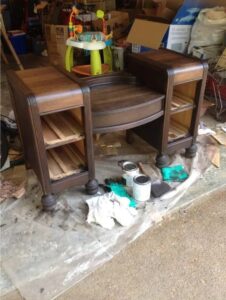
Choosing the right finish is crucial for achieving the desired aesthetic. Whether you prefer a natural wood look, a distressed finish, or a vibrant color, selecting the appropriate paint or stain will play a significant role in the final outcome.


Leave a Reply